The WAX (Worldwide Asset eXchange) is a decentralized platform designed for trading virtual items and NFTs. To interact with the WAX ecosystem, you’ll need a WAX wallet. This simple guide will walk you through the process of creating a WAX Cloud wallet step by step.
Creating a WAX Cloud Wallet
Step 1: Visit the official WAX wallet website
Navigate to the official WAX wallet by visiting their website at all-access.wax.io.
Step 2: Navigate to sign-up
On the homepage, click the “Sign Up” button. This will redirect you to the account creation page.
Step 3: Choose a sign-up method
WAX wallet offers multiple sign-up methods such as email, social media, and other platforms. Select the method that you prefer and proceed with the account creation process.
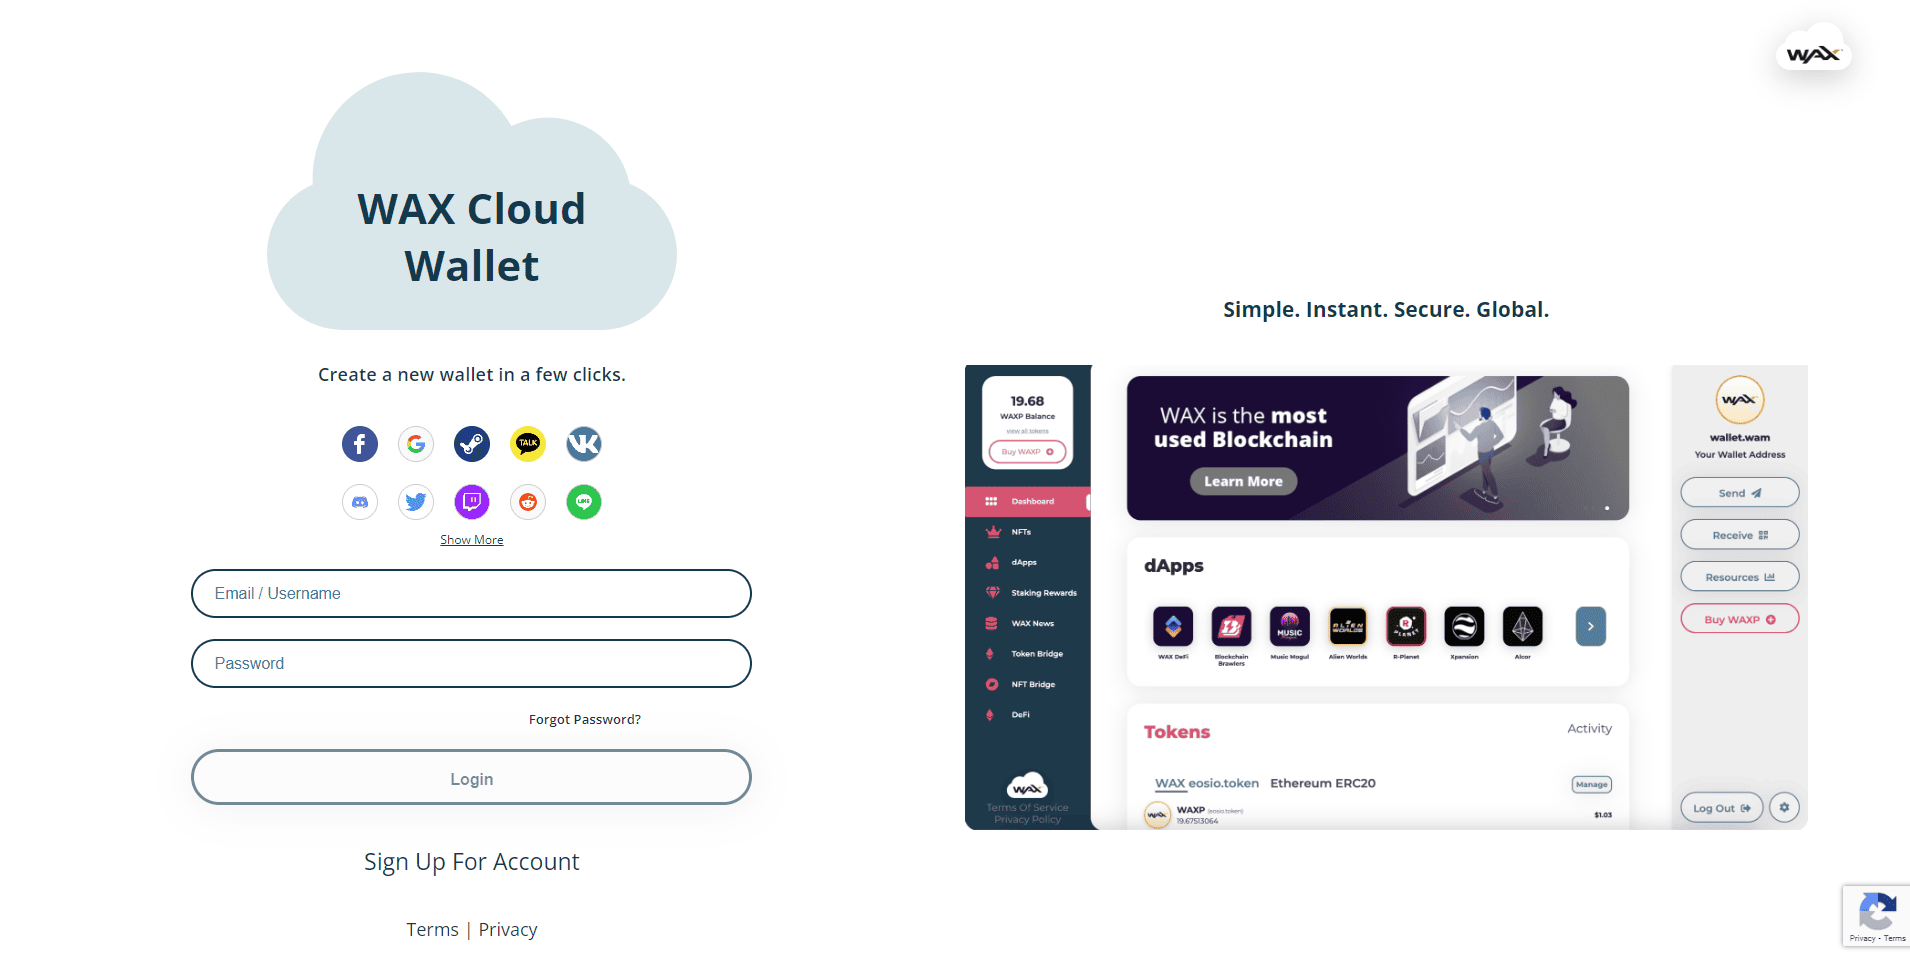
Step 4: Complete the registration process
Enter the required information depending on the sign-up method you chose. For example, if you selected email sign-up, you’ll need to provide your email address, create a password, and agree to the terms and conditions. Once you’ve filled out the necessary information, click the “Sign Up” button.
Step 5: Verify your email address
If you signed up with your email address, check your inbox for a verification email. Click on the link provided in the email to verify your account. This step is crucial to ensure the security of your wallet.
Step 6: Fund your wallet
To start using your WAX wallet, you’ll need to add WAX tokens. You can purchase WAX tokens from various cryptocurrency exchanges and then transfer them to your wallet using your wallet address.
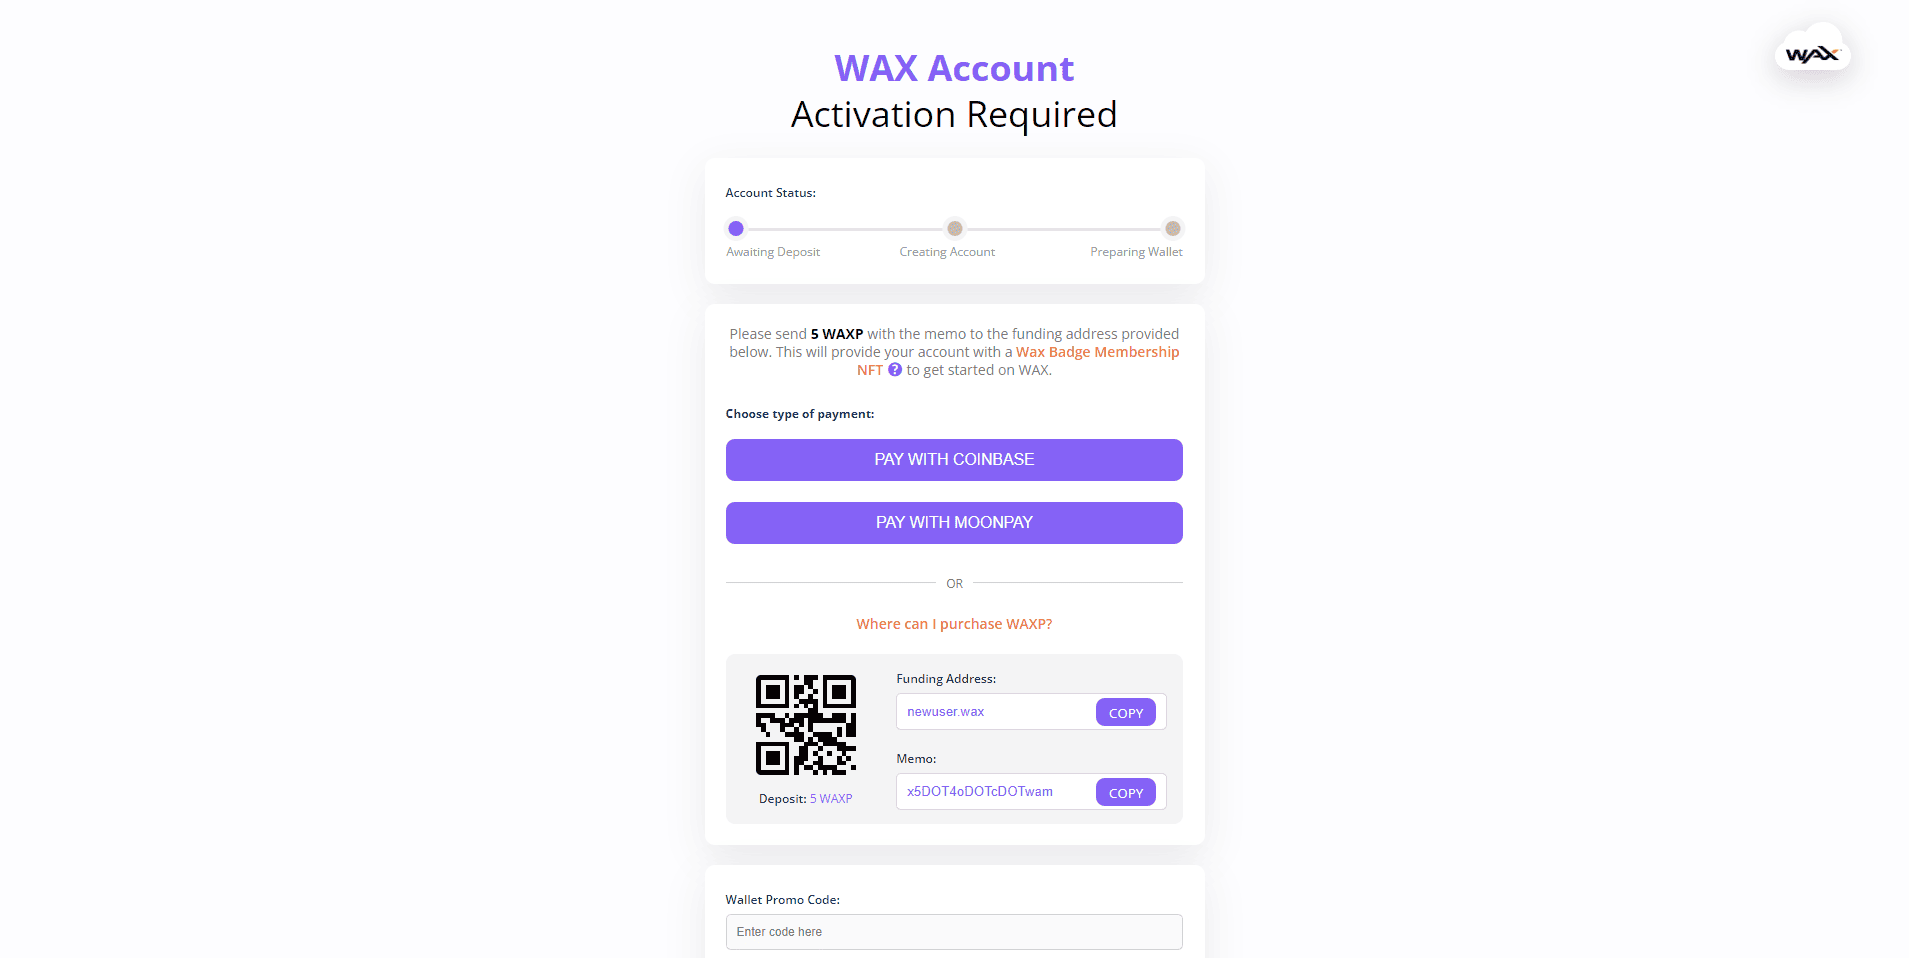
Step 7: Wait for wallet activation
After funding your wallet, it may take a few minutes for your WAX wallet to become fully activated. Once your wallet is fully activated, you’ll receive a notification or email confirmation, and you’ll be ready to start using your WAX wallet. If you experience any issues with activation or have questions, you can reach out to the WAX support team for assistance.
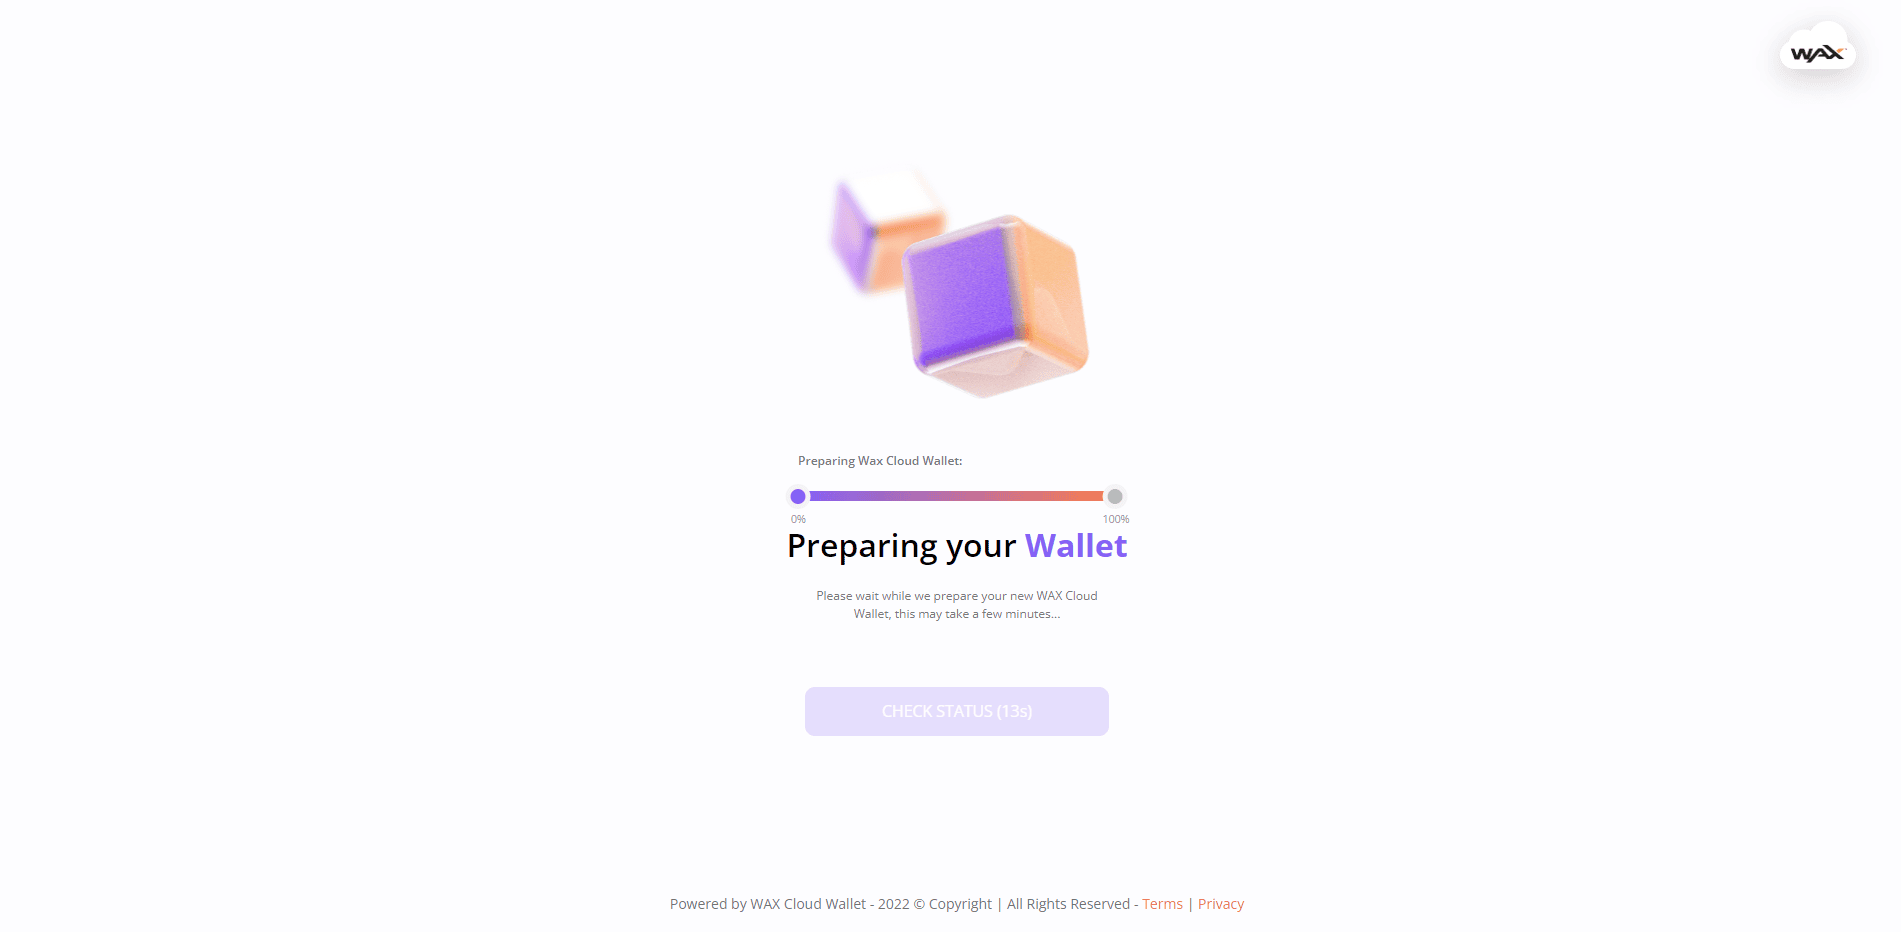
Step 9: Access the wallet dashboard
Once your WAX wallet is fully activated, you can access your wallet dashboard. The dashboard will display your WAX wallet balance, transaction history, and other relevant information. To access the dashboard, simply log in to your WAX wallet account and click on the “Dashboard” tab. From there, you can explore the different features of the dashboard and start trading NFTs and virtual assets on the WAX platform.
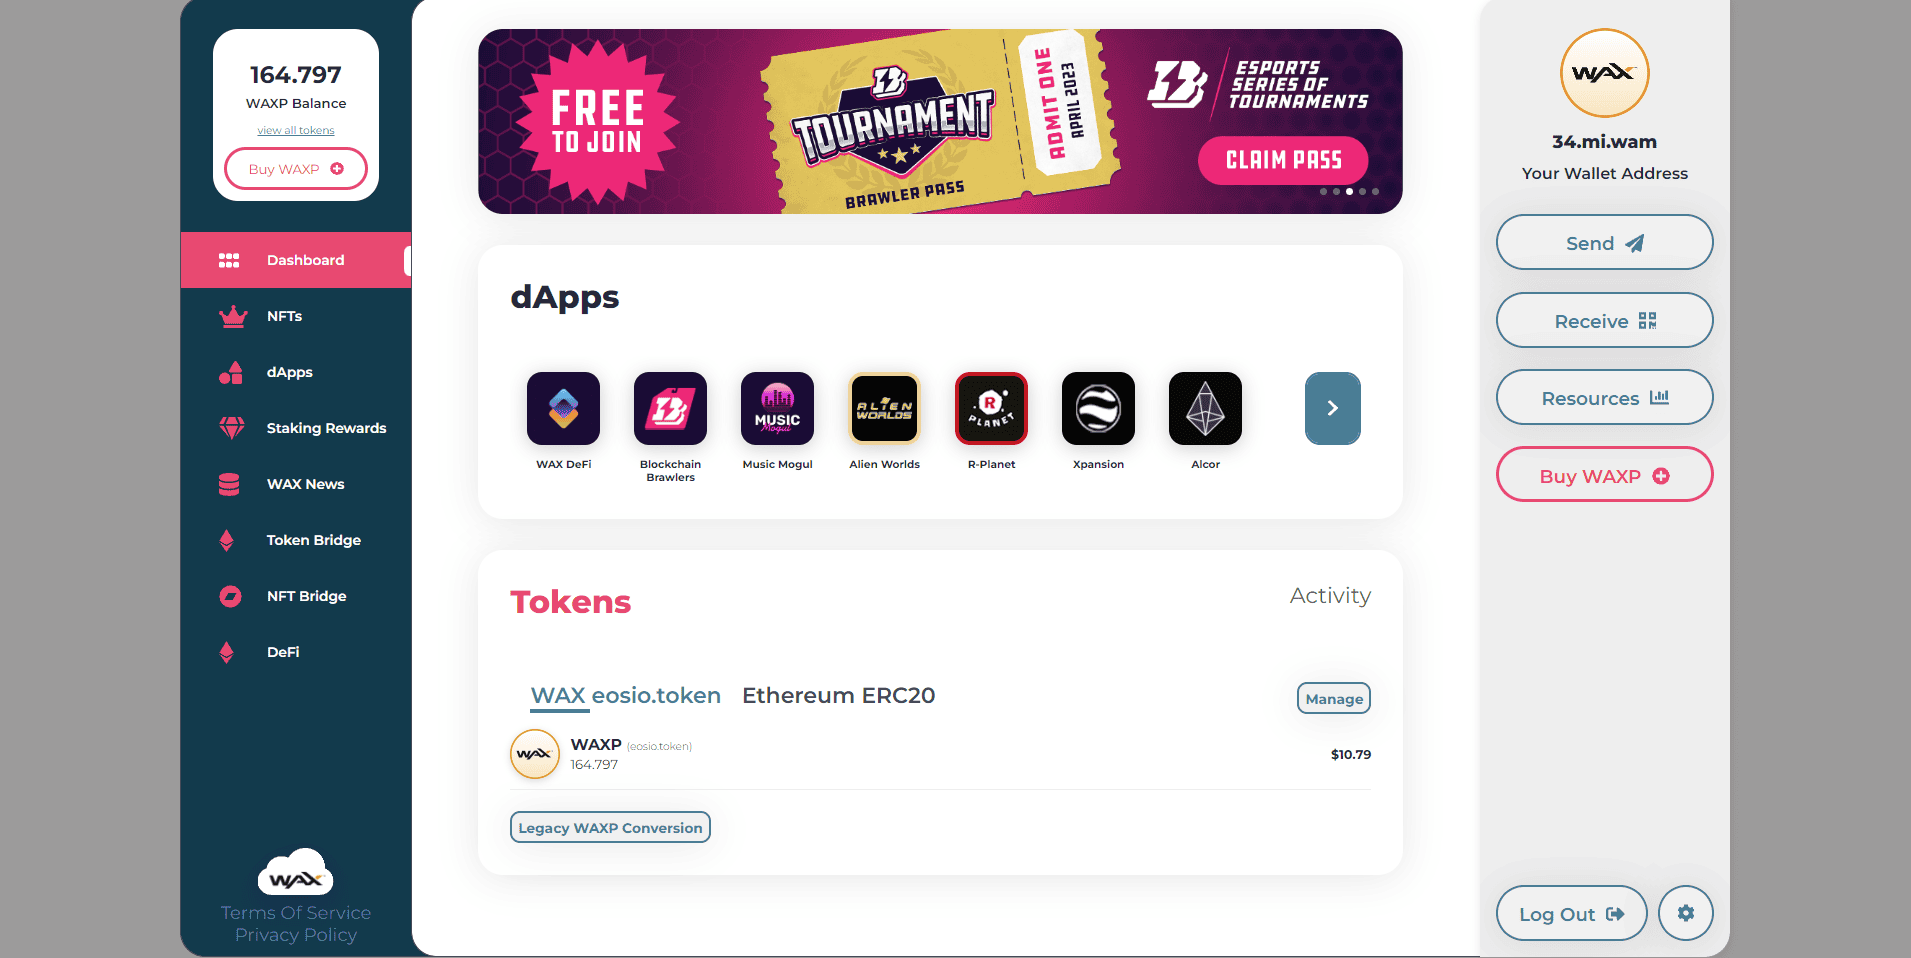
Congratulations! You’ve successfully created your WAX wallet and are now ready to participate in the world of NFTs and virtual asset trading. We hope this guide has been helpful in simplifying the process for you. Remember to keep your wallet safe by enabling Two-Factor Authentication. If you have any questions or encounter any issues, the WAX support team is available to assist you. Good luck and happy trading!
For a more detailed, visual guide, check out the full tutorial video below. This will further assist you in creating and using your WAX wallet with ease.


